I’ve been running an HTPC/NAS setup for a few years now. I love it – no need to have a blu-ray/dvd player, I can run Netflix, Hulu, etc. The heart of this, of course, is the NAS setup. Without it, I wouldn’t have the massive library I own at my fingertips. Unfortunately, I ran into an issue with the NAS a month ago and one of the 3 drives I stored all my media on died. I was a virtual n00b when it came to linux when I setup the NAS in the first place, so I used LVM instead of RAID to create the array. Oops.
So I’ve had to spend the last month re-ripping my library (which had been for the most part, years since I did it). I also decided that this time, I would take the necessary step of encoding my DVD’s, primarily to help with space savings.
Tools
MakeMKV – this is a great little program for easily ripping just the content you want off blu-rays and DVDs. You can download and install for free. (Shareware)
Handbrake – much more straightforward to use than RipBot, and faster, it seems. (Open Source)
Disclaimer
There’s been a lot of discussion online over the past few years regarding the legality of making digital copies of movies you own. Generally, the consensus is that as long as you own the movie itself, you can do this. Please check the prevailing laws governing you. I take no responsibility for your failure to check the legal ramifications. Please keep in mind that this is for personal use only. Re-distributing electronic versions of movies you own pretty much is a violation of copyright laws.
Process
The first step is to create the “working” file using MakeMKV. This is a pretty straightforward process. Pop the disc in the drive, open MakeMKV, and hit the drive button graphic. It will take a few minutes to read the disc (anywhere from a minute to thirty). You’re left with this screen once the disc information has been compiled. (We’re working with the DVD for Coyote Ugly).
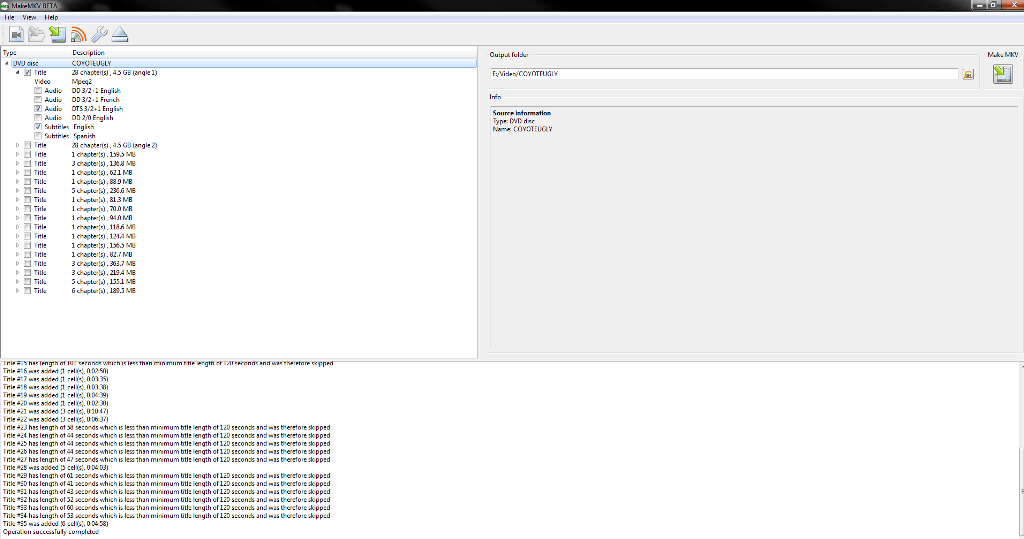
MakeMKV
Generally speaking, you’ll want the largest “Title” from the disc. The rest are usually menus, featurettes, etc. Unselect everything but the largest Title, then click the arrow to expand the selection. My personal preference is to grab just the English audio track, English subtitles, and of course, the video file. Some DVDs and Blu-Rays will have more than one audio file or subtitle file. If you click on the line for it (make it highlighted), any pertinent information will show up on the right side of the screen. Pay attention to what shows there – it will show you if it’s “Director’s Commentary” or something else. Also keep in mind that some blu-rays do not “burn in” foreign language subtitles (for instance, a character is speaking Russian, but subtitled in English – this becomes more important in the encoding section). My preference, also is to grab the highest quality audio if there is more than one (in this case, DTS over DD, or Dolby Digital). If you want, you can grab everything.
Once you’ve selected everything and ensured the save location is correct, just hit “Make MKV”, sit back, and wait. The process can take anywhere from 15 minutes to an hour, depending on your computer specs, the drive speed, and the disc. Typically, a DVD will take me between 15 and 20 minutes. My blu-ray player is in my HTPC, so that runs slower, and generally takes about and hour start to finish.
Encoding
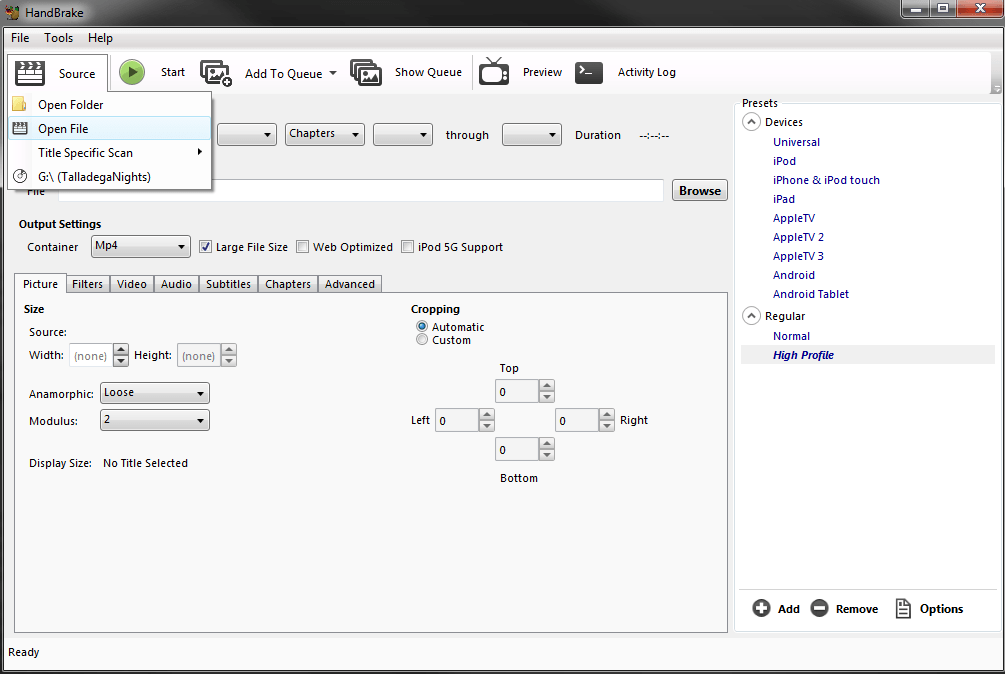
Now to the heart of the matter. Once your disc has been made into an MKV file, you’re ready to encode. Fire up Handbrake. You’ll want to select “source” and “open file”. Navigate to where the MKV was saved, and load up the file. (I will note that it’s possible to run Handbrake “direct from disc”, but this is a problem as most discs have some form of copyright protection/encryption.
Once the file is loaded, the first thing I do is make sure that I’ve selected “High Profile” on the right hand of the screen. Next, I change the “container” box to “MKV”. My preference is on the MKV (or Matroska, if you prefer) container. There’s a few resources out there to help you make the decision on which way to go. I’ve not tied myself to the Apple infrastructure too much, so I don’t have a lot of those concerns. Make sure to change the final destination file name – especially if MakeMKV defaulted to “Title01” for the source file.
So now, onto the tabs. Left to right, it’s pretty simple.
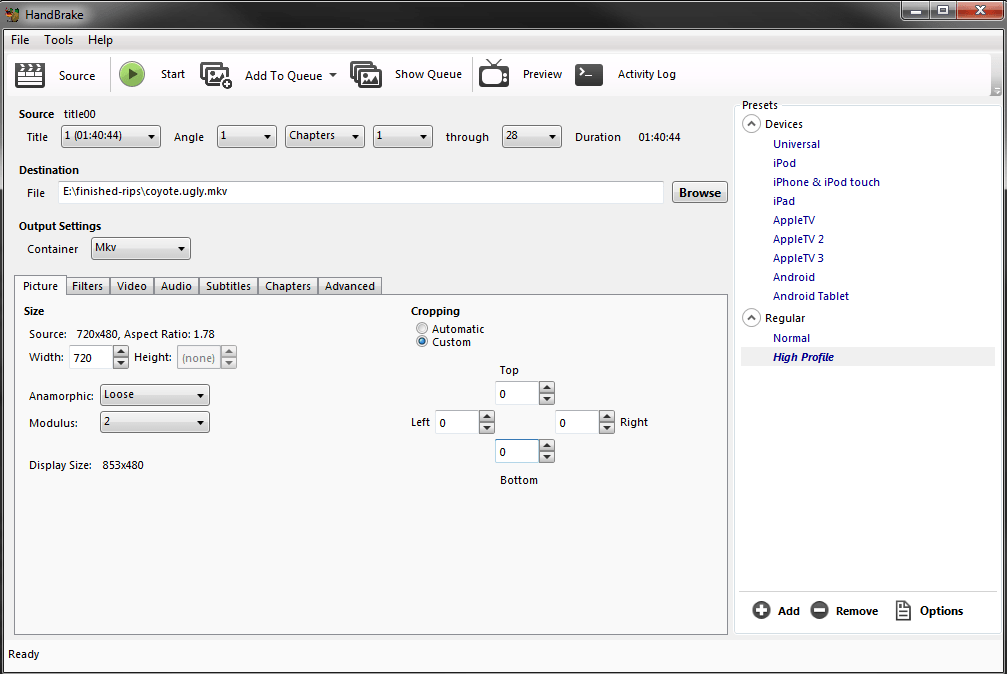
I primarily concern myself with the following settings tabs: Picture, Audio, Subtitles. Again, my preference is a 1:1 rip from the disc version to my electronic version. So I will change “cropping” to custom and tell Handbrake not to crop. My reasoning is that when you turn on subtitles on a cropped file, they have a tendency to creep up into the main picture. Not a problem on most movies, but it will cover up foreign language subtitles. I don’t mess with “size” on the left side – even for Blu-rays. You can re-size if you want, especially if you’re going to be watching these on a tablet or phone and space is premium (although that’s what the presets are for on the right).
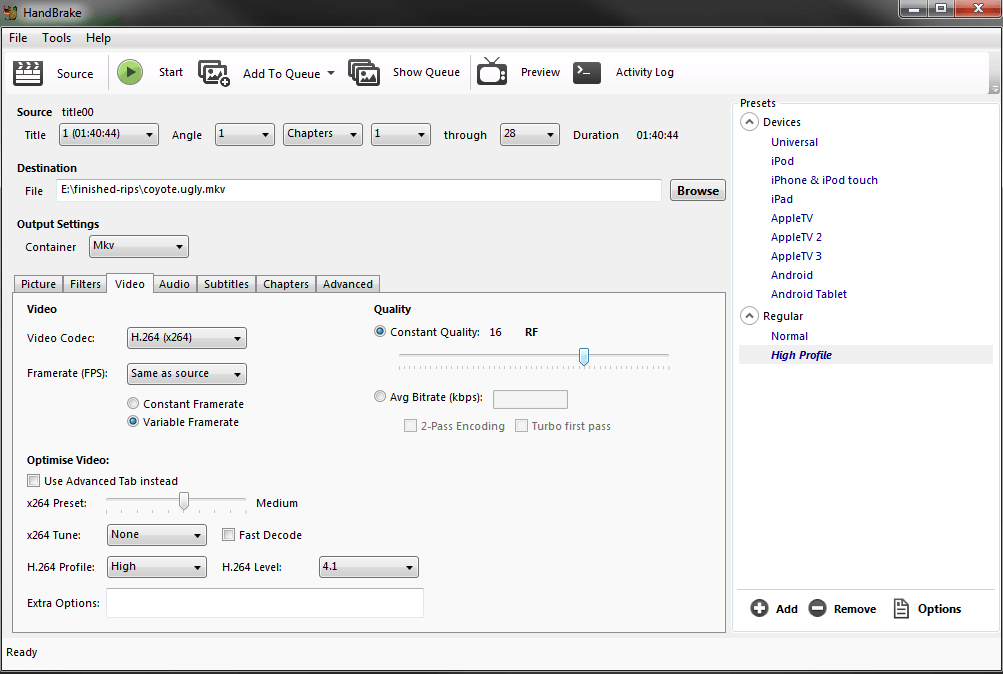
Next we go to the video tab. This is really where you can affect how “quality” the encode becomes. For simplicity sake, I use the “Constant Quality” setting, and I use 16 for DVD’s and 21-22 (still playing) for blu-rays. Generally speaking, at 16, a 5.5gb DVD turns into a 2.5 to 3.0gb DVD (depending on the sound quality). On a blu-ray, at 1080p, its about 13-15gb. I don’t mess with anything else, other than the framerate. I haven’t been able to discern any real difference between the settings, but I’m guessing that “Constant” will help eliminate tearing from some lower quality screens or underpowered pc’s. You may have to try re-encoding files a few times to get familiar with the size of the output file and the quality you want.
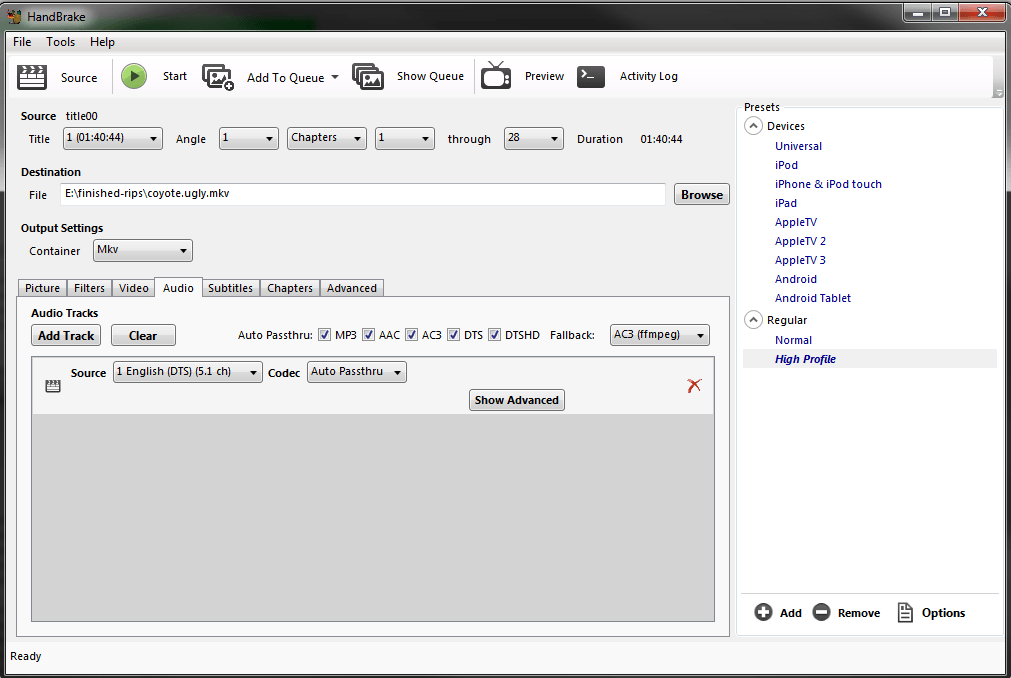
Onto Audio. Here, Handbrake should do most of the work for you. The main change I do is to make sure that the “codec” drop-down is set to “Auto Passthru”. Since I’m watching these on a decent system, I want to preserve as much of the Audio quality as possible. You can select another codec (and might be limited based on your container or device). Always check the “source” drop-down to make sure that there are no other tracks. If there are, just hit “add track”.

The last settings I change are the Subtitles. When my family visits, I have to turn on subtitles as my dad is a little hard of hearing. Click “add”, and it should pop up everything you need. Again, double check the drop-down to see if there are other subtitle tracks you need to add. It’s important to note here that if you’re working with a blu-ray that did not “burn in” the foreign language tracks, you should select that track for “burn in” – otherwise you’ll miss a key plot point. For instance, I know this to be the case in the Avengers blu-ray towards the beginning with the Black Widow scene.
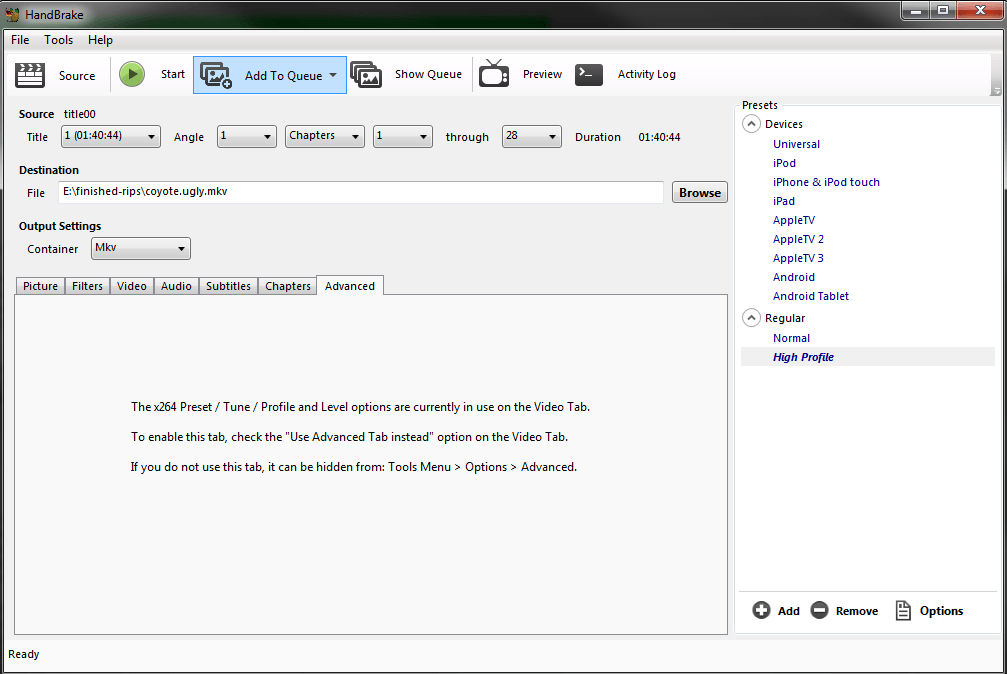
At this point, you’re ready to go. Two ways – either click “start”, or “add to queue”. You can continue to add files while the queue is working (just absolutely make sure you’ve changed the destination file). If you hit “show queue”, in the upper right, there’s another drop-down available (should say “do nothing”) – you can change that to shutdown the system when the queue is finished processing, hibernate, whatever. So you can populate your queue before you head out for a bit and not worry about the PC being on forever.
When all is said and done, you should have a newly encoded (and smaller) file! Happy ripping!